| Scan
|


|
|
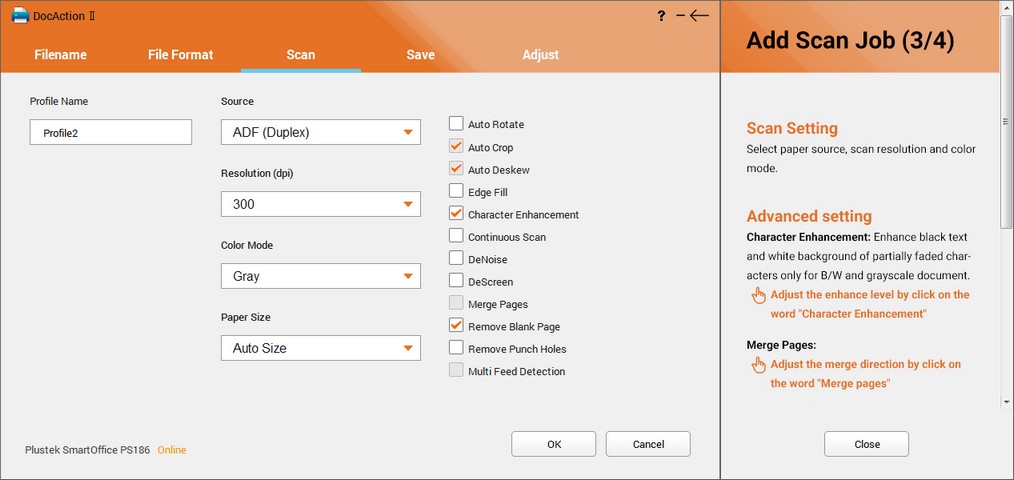
| You may configure the scan parameter settings of the scan profile in this page.
|
|
|
|
|
|
| · | Source: Tells the scanner the method you will use to scan documents or images. Select the desired option from the dropdown list.
|
|
|
| · | Resolution (dpi): Resolution is measured in dots per inch (dpi). The higher the resolution, the more detailed the image and the more memory and drive space the image will use. Select the desired option from the dropdown list.
|
|
|
| · | Color Mode: Tells the scanner what type of documents you are scanning. Select the desired option from the dropdown list.
|
|
|
| · | Paper Size: Adjusts this setting to tell the scanner the size of paper to scan. Select the desired option from the dropdown list.
|
|
|
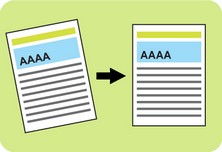
| · | Auto Rotate: Tick the check box of Auto Rotate, the document image you scanned will be automatically rotated and straightened.
|
|
|
|
|
|
| · | Auto Crop: Tick this check box to have DocAction II automatically identify the dimensions of the image you scanned and crop around the edges. The crop shape will be a square or rectangle and it will not trace the edges of oddly-shaped images. This command can be useful when scanning smaller images such as photographs.
|
|
|
|
|
|
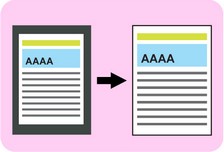
| · | Auto Deskew: Tick this check box if you want DocAction II to automatically straighten the skewed image after auto crop is done. If the placed image is too slanted (>10°), the Auto Deskew function will not recognize the skewed image(s).
|
|
|
|
|
|
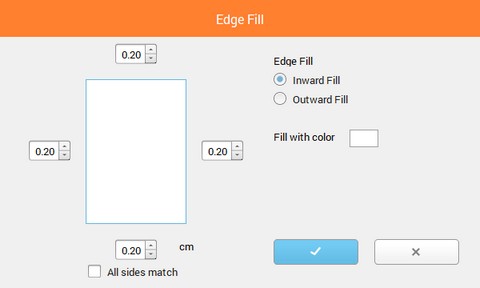
| · | Edge Fill: Tick the check box of Edge Fill, the edge of scanned image would be filled. Click on Edge Fill to open a dialog for more settings.
|
|
|
|
|
|
| · | Character Enhancement: Tick this check box to enhance text characters in the scanned documents. This feature is not available when BW is selected as Color Mode. Click on Character Enhancement to open a dialog for more settings.
|
|
|

|
|
|
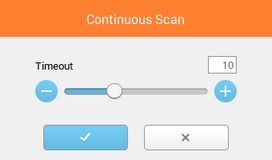
| · | Continuous Scan: Check this option if you want to scan multiple pages successively to the same destination. After the document is scanned, a dialog will pop up asking you if you will put in more paper to continue scanning, or if you want to end the scan. Click on Continuous Scan to open a dialog for more settings.
|
|
|
|
|
|
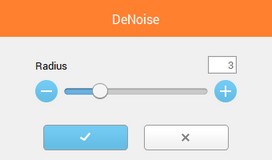
| · | DeNoise: Tick the check box to remove noises from the scanned images. Click on DeNoise to open a dialog for more settings.
|
|
|
|
|
|
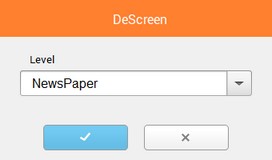
| · | DeScreen: Descreen applies filtering to images that contain moiré patterns (or herringbone). A moiré pattern is created from scanning pictures in magazines, or printed material that use color dithering. The descreen filter is not needed when scanning original photographs or black and white images and text, but is recommended when scanning any printed color graphics, such as a page from a magazine, in order to remove the unsightly interference patterns which may occur. This feature is not available when BW is selected as Color Mode. Click on DeScreen to open a dialog for more settings.
|
|
|
|
|
|
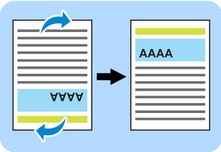
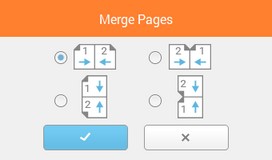
| · | Merge Pages: When you scan double-sided documents, tick this check box if you want to output the scan images of both front and rear sides in one image. When you scan a document folded in half, tick this check box to generate a joined image. You can enable this feature only when you select ADF (Duplex) as Source. Click on Merge Pages to open a dialog for more settings.
|
|
|
|
|
|
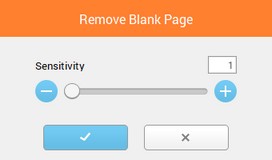
| · | Remove Blank Page: Tick this check box if you want DocAction II to automatically remove blank pages after the document is scanned. Click on Remove Blank Page to open a dialog for more settings.
|
|
|
|
|
|
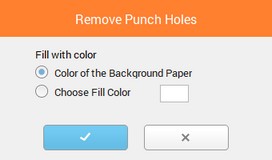
| · | Remove Punch Holes: Tick the check box of Remove Punch Holes, the hole marks aligned along with the edge of the scanned document will be removed after auto crop is done. The function will work for the document with single background color. Click on Remove Punch Holes to open a dialog for more settings.
|
|
|
|
|
|
| · | Multi Feed Detection: (This function may or may not be available depending on the scanner model you purchase.) Tick the check box to enable the Multi-feed Detection for ADF scan. When scanning a stack of documents by ADF, you may enable this function to check paper overlap (i.e., 2 or more pages stuck together when being fed through the ADF).
|